Today you are going to learn how to create a icon which has glass look and feel.
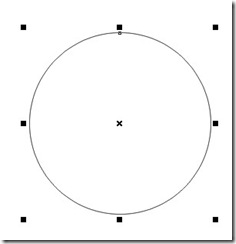
- Create a perfect circle by press and holding down “Ctrl” button while you drawing it.
- Fill the shape with any color you like
- Select the shape and remove outline of the shape by right clicking on transparent color on color palette.
- Get a duplicate of circle by pressing “+” sign on the num pad
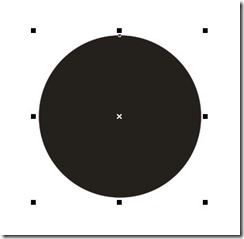
- Fill new duplicate with black color
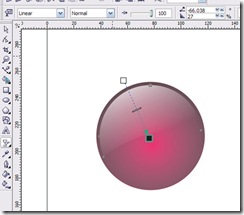
- Set interactive transparency tool to “Radial” and transparency operation to “Multiply”. Move transparency circle little bit from center as below.
- Make another duplicate of the circle and fill it with white color and remove transparency property form it. Reduce the size little bit. (Hold down the shift key while resizing)
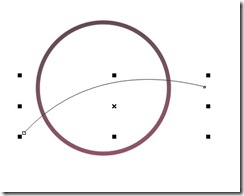
- Select Bezier tool form tool bar. Draw a line across the circle shape.Choose shape tool from tool bar. Select the line form it. Select “To Curve” from the menu when you get right clicking on the line we draw before. Arrows should be appears on both side of the line as below.

- By holding from the arrow and dragging it curve line little bit. Now you will have some thing like this.
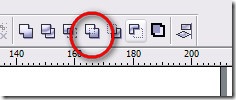
- Now choose Pick Tool from the tool bar and select white circle, Hold down shift key and select the line which we deal with before step. Now choose “simplify” from the menu bar. If you done it right. Now you have three objects. Delete the lower half of the circle and curved line.
- Select the upper half of the white circle and set transparency of it to ”linear”. Adjust the transparency according to the image below.
- Press “Shift + F11” to get insert character and insert some thing like below. Remove outline (you already know), fill it with black, make duplicate, fill if with white, move white one little bit, place both character center of the our circle shape which we created before.
This is the final result. Enough for today.







No comments:
Post a Comment