 Click here to download Angry Bird CorelDRAW vector template for free
Click here to download Angry Bird Illustrator vector template for free
Best stuff corner is a place where you can find CorelDRAW tutorials, free vector graphics, Templates and other useful stuff.






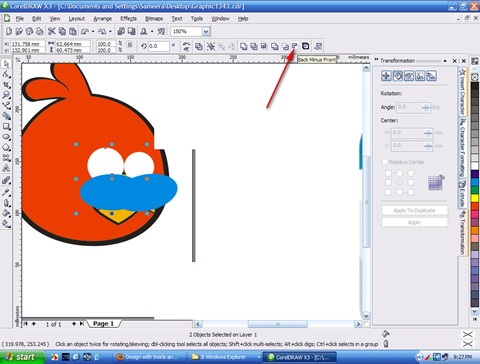





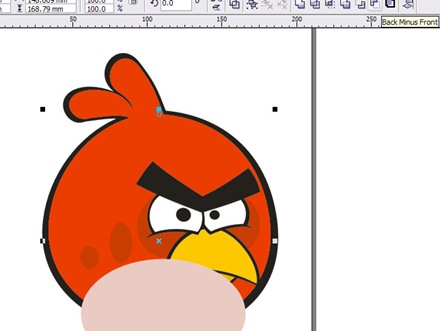




This vector art template of Aiswarya Rai created using the following image. Little bit of Photoshop and CorelDRAW is use to create it.
Here is the original image.
Download this vector template in CorelDRAW X3 CDR format click here
Download this vector template in Adobe Illustrator AI format click here
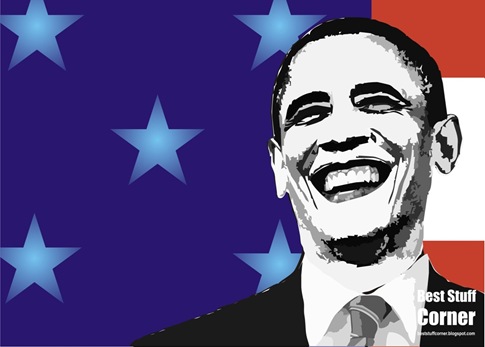
This is a Barak Obama vector image convert from the below original bitmap image. You can download this vector template in CorelDraw x3 format, Adobe Illustrator CS AI format & EPS format using links at end of this post.
Barack Obama Vector Image in CorelDRAW X3 CDR Format Template Click Here
Barack Obama Vector Image in Adobe Illustrator CS AI Format Template Click Here
Barack Obama Vector Image in EPS Format Template Click Here
After you download the above template you can do some creative stuff like below.
In this tutorial you are going to learn how to create beautiful 3d box design using corelDRAW. This tutorial will not be hard, If you followed my previous tutorials. All main steps need to complete this tutorial are stated below. Lets get start.
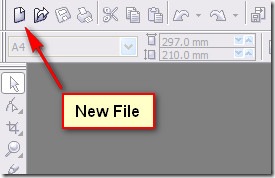
First of all open corelDraw program. I’m using corelDRAW X3 in here. Create a new sheet as shown below image.
 Set paper size to A4 and orientation to landscape.
Draw a square using rectangle tool in the tool box.
Press and hold Ctrl key while drawing the rectangle to make it square.
Select Add Perspective from the effect menu.
Click and drag from the corners of the square to form following shape.
After that select Interactive Extrude Tool from the tool box which is at the left side. Drag the box to the left upper side to crate the following extrusion effect.
Now select whole object and select Break Extrude Group Apart from the Arrange menu or just press Ctrl + K
Now you can select each side of the box separately. Fill front, left and upper side of the box using fountain fill tool box as below.
Front Side
Left Side
Upper side
After that remove outlines of the box. (Right click on the Cross mark on the color palate)
Now we are going to do small drawing using Bezier tool.
If we choose simple wire frame form the view menu, it will be easy to draw.
Draw outlines of the box as below and after that we can change back it to regular view.
Now fill the outlines of the box with white color. Group all the objects.
Make a small version of our 3D box and place it like below image.
Make a another copy of box and place it as below. It may need to adjust the perspective from the effect menu.
Now we have total of three 3D boxes.
Ungroup all boxes and change the colors of it. I’m giving blue color to one and green to other. You can choose your own color combinations. Always use fountain fill dialog box.
You can use same values as shown in images.
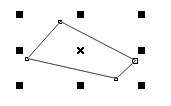
Now all boxes are filled. Now we are going to give shiny transparent effect to our 3D box. Create a custom shape like this using “Bezier Tool”.
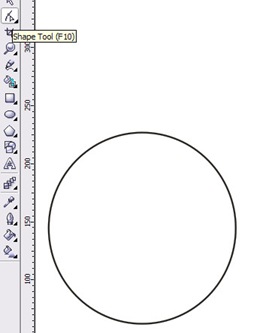
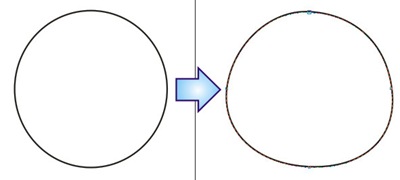
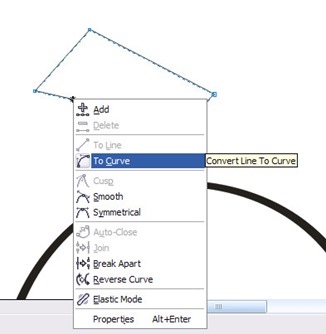
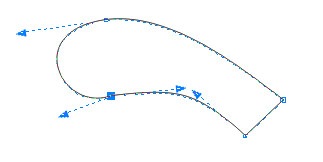
Using shape tool change the shape of it as below. We need to convert to curve before change the shape.
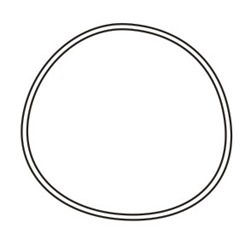
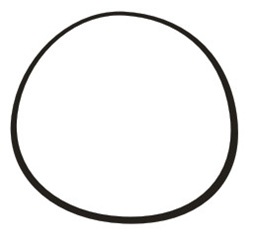
This is the shape that we have to make.
Fill the shape using white color.
Give leaner transparency using “Interactive Transparency” tool at the left side.
Follow the above procedure and give above effect to other boxes too.
We are going to make few sparkles an pace it on appropriate place to get more shiny looking boxes. Create a circle using “Ellipse Tool”.
Fill it with white color. Give radial transparency to make it’s outlines disappear.
This is what you have to do.
Now create a star shape using “Bezier Tool” as below. Place it middle of the circle and and fill it using white. After drawing basic shape we can shape it as we want using “Shape Tool”
Fill the star shape with white color.
Select circle and star shape. Group it and get few copies of it.
Now we are going to make bunch of rectangles to fill background.
Create square and round the corner as below.
Get a copy of this square and reduce its size by little bit. Place it inside.
Fill the large one using “Fountain Fill” tool as below.
Here is how i am did it.
Fill the middle square as below.
Draw shape like below using “Bezier Tool”. Fill it with white color. Give a transparency to it using “Interactive transparency tool”
Make a few copy of it and change the color by little bit.
As you can see I change my mind during this and change the color of large one to something like below.
Make few copies of them and change the size and rotate it little bit. Now place it randomly
To make suitable background create a rectangle and fill it using dark and light blue color. Draw a circle using “Ellipse Tool”. Fill it with dark and light blue colors as below.
Now we are going to change the shape of it using “Interactive Distortion Tool” as shown in below image.
Using this tool hold and drag from the circle. Make some thing like this.
Now click on the new distortion button as shown using arrow in the above image. After that give another little bit of distortion.
Make another one and place all the content inside the rectangle using power clip option at the effect menu.
Download CorelDRAW X3 .cdr source file. Click here.